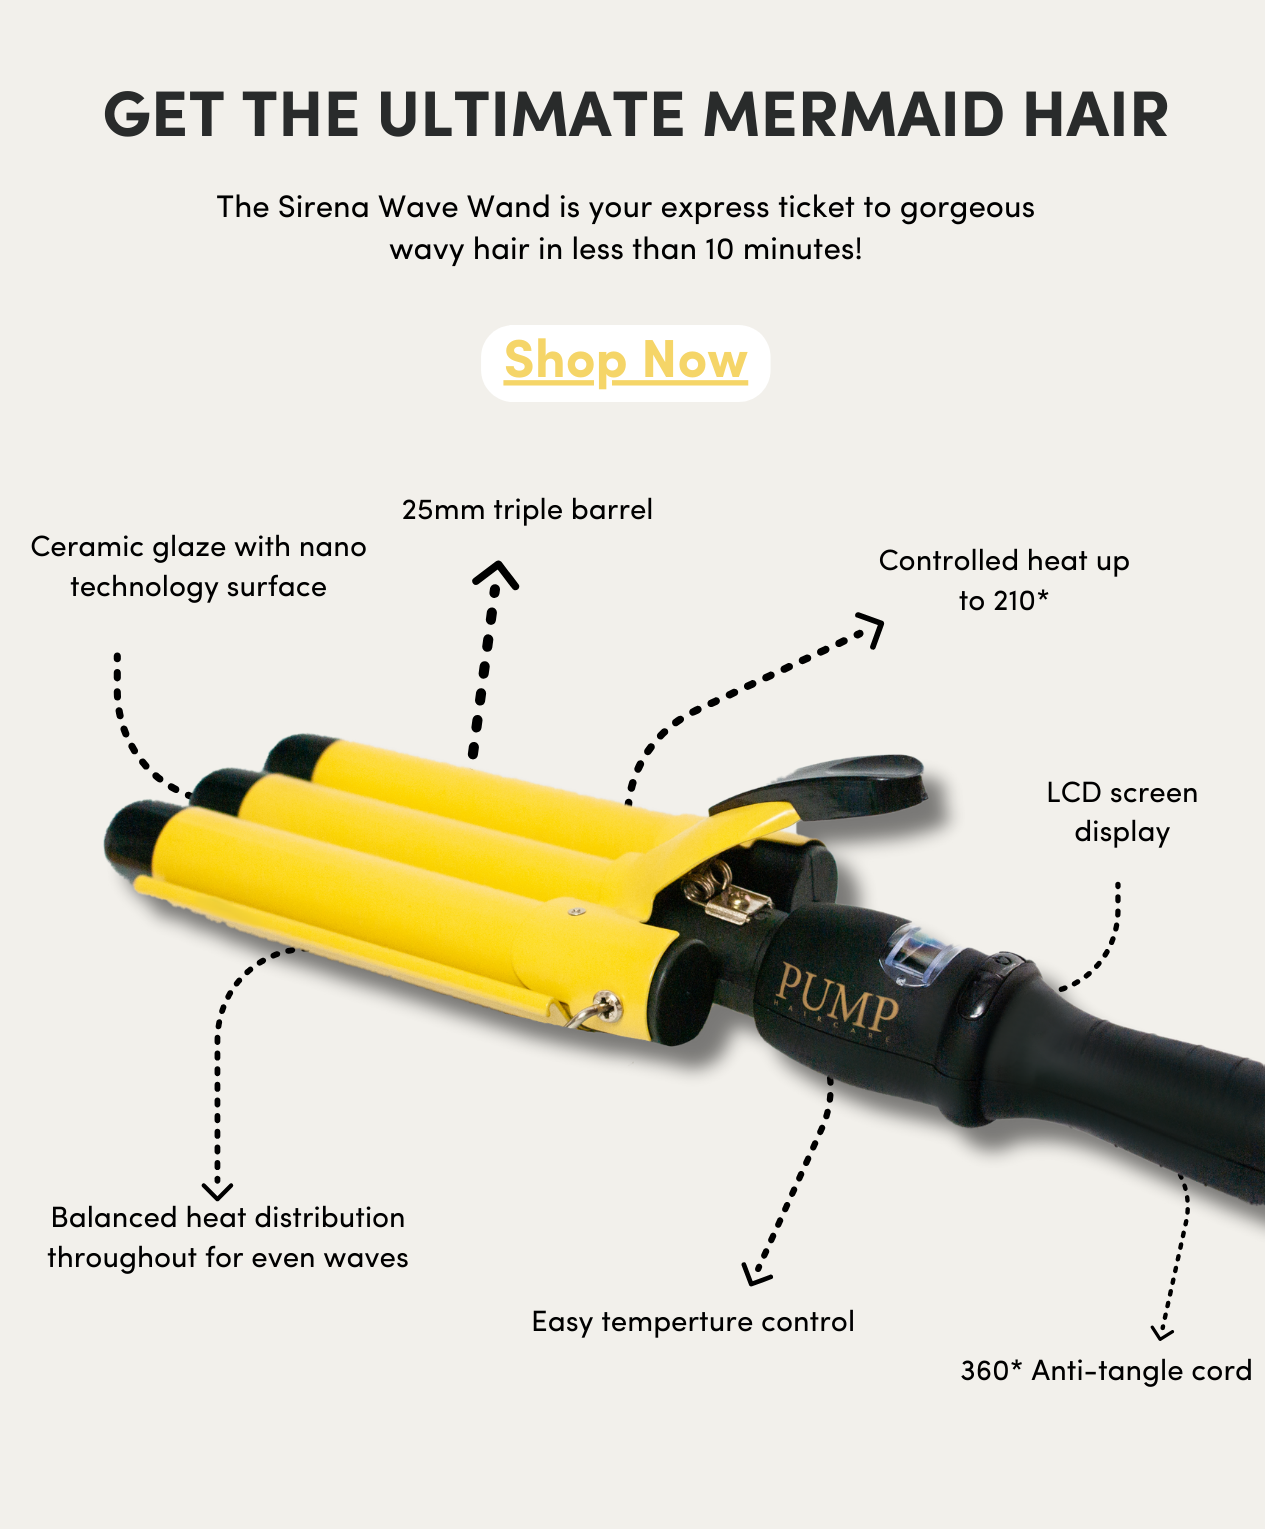
For the girls who once dreamed of being a mermaid, you can now step into your dream look with the mermaid hair waver. Here is a super easy to follow, step-by-step guide to achieving the perfect mermaid hair, leaving you looking effortlessly beautiful with your beachy waves:
1. Preparation
Preparing your hair for styling with a mermaid hair waver is key to achieving this beachy look. Start with dry, clean hair and evenly apply a heat protectant spray to keep your hair from becoming damaged from the heat. If you have bleached hair, we recommend a blonde hair spray instead to keep the brassy tones at bay whilst still protecting your blonde locks.
2. Heat Up the Waver
Plug in your mermaid hair waver and set it to the heat temperature you would like. It is best to always start on a lower heat setting and increase as needed to not damage or burn your hair from excessive heat exposure.
3. Section Your Hair
As your heat waver is warming up, begin sectioning your hair, using a hair clip or claw to divide it. It is easier to use the hair waver on smaller sections of hair as it helps you style more precisely and gives you well-defined waves.
4. Begin Styling
To begin, grab a section of hair roughly 3-5cm wide and hold the waver horizontally. Then, starting at the top of your hair, begin clamping the waver down from the mid-way point, as you work down to the ends of your hair. You can also adjust where you would like the waves to begin from, either closer to your scalp or mid-way. If you have short hair, use a smaller barrel waver and focus on the mid-lengths to the ends of your hair for a subtle wave look.
5. Create Waves
Be sure to hold the hair waver away from your face and in place for a few seconds before working your way down to achieve the perfect waves.
6. Alternate Directions
If you are after a more natural look, you can alternate the direction of the waves from either away from your face or towards it. This creates an effortless, mermaid-like effect to cascade down your shoulders.
7. Repeat the Process
Continue to repeat the process until your hair is fully waved. For tighter waves, grab a smaller amount compared to if you want looser waves. You can play around with alternating amounts as well to achieve your ideal look.
8. Let the Waves Cool
Once you have worked through all sections of your hair, give your hair time to cool before handling them. This allows the heat to fully set the shape and ensure your mermaid waves last for longer.
9. Wide-tooth Comb or Style
Once your waves have cooled off, use a wide-toothed comb or your fingers to gently loosen your curls and separate them into smaller sections. For a longer hold, you can apply a curly hair gel as you begin loosening your curls.
10. Final Touches
To finish the look, lightly tousle your hair for a wavey, beachy vibe. You can also add a beach hair spray for a more beachy and texturised look.
Achieving this look is all about experimentation with what works best for your hair type and desired look. It also takes patience and technique so grab yourself your favourite mermaid hair waver and play around with how you section your hair, the direction of waves and what products you put in after.
Tips to Using Mermaid Hair Waver for Different Hair Types:
Depending on your hair type, you may need different strategies. Here is how you can get the most out of your hair waver depending on your hair type:
Fine Hair
As fine hair is more fragile, use the waver on a lower heat setting and work through smaller sections. To finish the look off, grab a volumising mousse or thickening spray to add more texture and hold.
Thick or Coarse Hair
For thick hair, your hair will be more resilient to heat and may require a higher heat setting to hold the waves. Still, be careful to not overexpose your hair to heat and apply a heat protectant to protect it. To finish, use a lightweight serum or oil to control frizz and give your hair a natural shine.
Curly or Wavy Hair
For a more defined and uniform wave, you may need to straighten your hair first. Always apply a heat protectant first and give your hair rest in between treatments. Use a strong hairspray or gel to set the waves when finished to keep your waves from reverting to curls.


